How to apply stickers?
Rubbing stickers are a fun and versatile way to add a personal touch to your crafts, scrapbooking, and various DIY projects. If you’re wondering how to apply stickers effectively, you’ve come to the right place! Plus, if you’re looking for “wipe stickers near me”, this guide will help you understand the application process so you can get the most out of your stickers.
What is a rub on sticker?
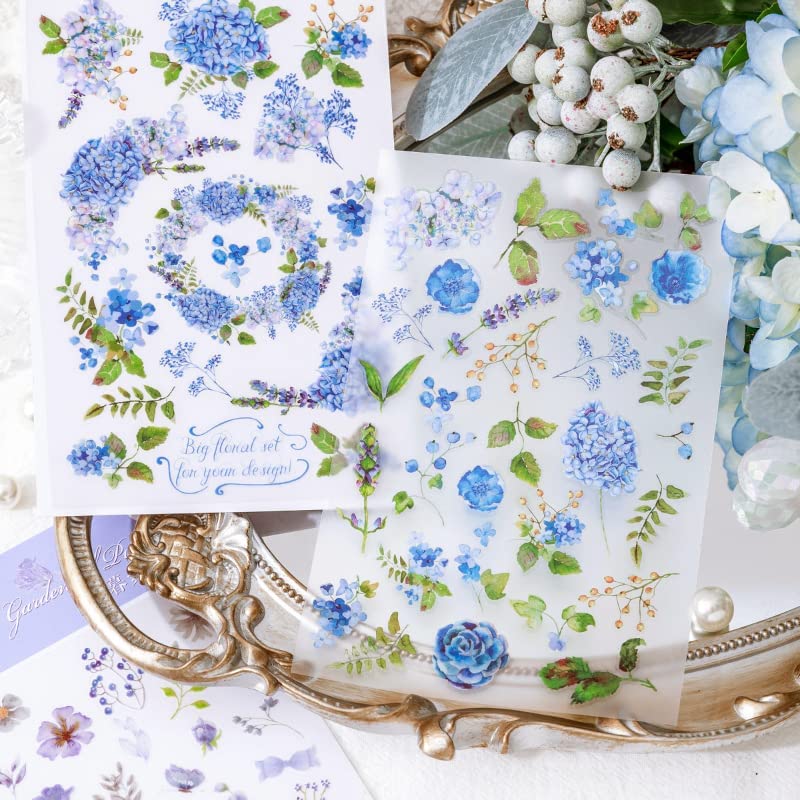
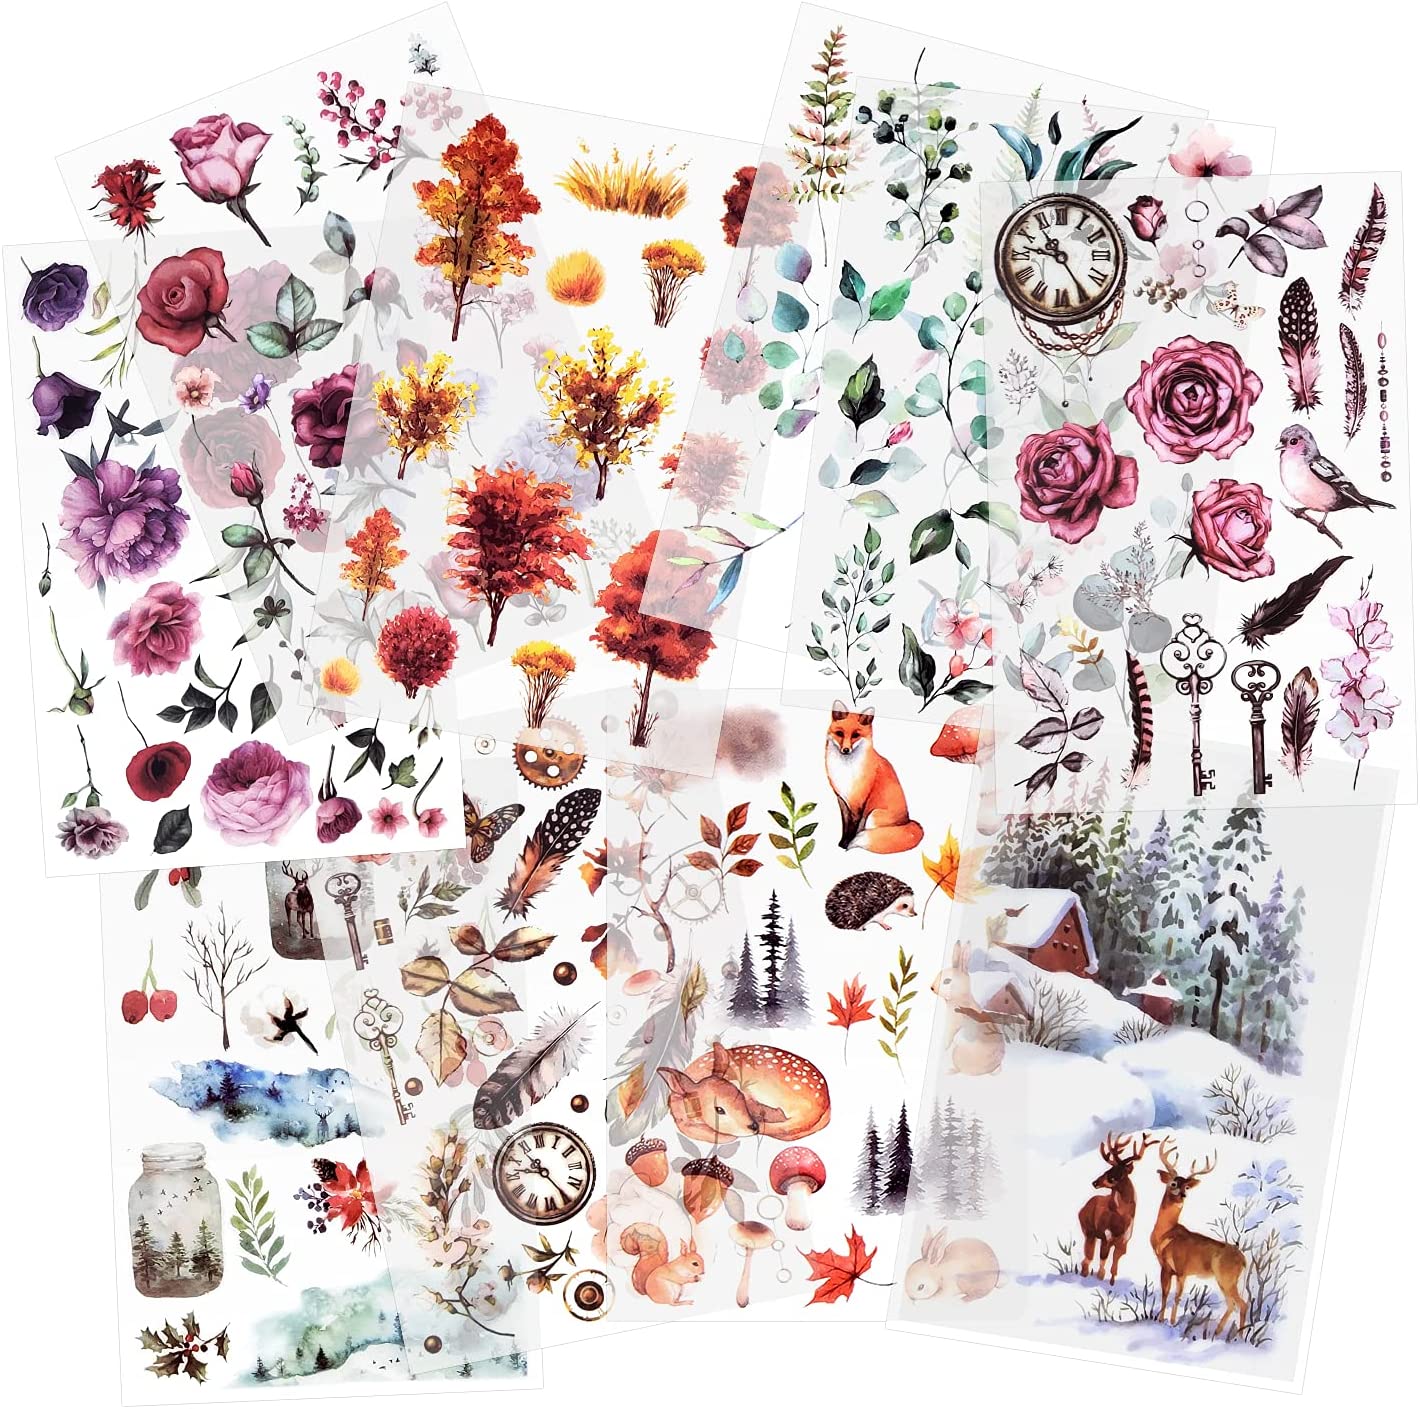
Wipe-on stickers, also known as transfer stickers, are decals that allow you to transfer your design to a surface without the need for adhesive. They come in a variety of designs, colors and sizes, making them perfect for personalizing items like notebooks, phone cases and home décor. The beauty of rub on stickers is their ease of use and the professional results they provide.


How to apply stickers
Applying rubbing compound to stickers is a simple process, but there are a few steps to ensure you get the best results. Here’s a step-by-step guide:
● Choose your surface: Choose a clean, dry surface to apply the sticker. This can be paper, wood, glass or plastic. Make sure the surface is free of dirt and grease to ensure proper adhesion.
● Prepare the Sticker: If the sticker is part of a larger paper, carefully cut away the rub on the sticker. This will help you position it accurately on the surface of your choice.
● Place Sticker: Place the sticker face down on the surface you want to stick it on. Take your time to make sure it’s in the correct position, as repositioning it can be tricky once applied.
● Wipe the Sticker: Use a popsicle stick, bone clip or even your fingernail to gently wipe the back of the sticker. Apply even pressure, making sure to cover all areas of the sticker. This step is crucial as it transfers the design to the surface.
● Peel Backing: After rubbing, carefully peel off the transfer paper. Start at one corner and slowly lift it up. If any part of the sticker remains on the backing, simply put it back on and wipe it off again.
● Final Touches: Once the sticker has completely transferred, you can add a protective layer if desired. Clear sealant or mod podge can help preserve the sticker, especially if it’s on an item that’s handled frequently.
Secrets of success
Practice on Scrap: If you are new to stickers, practice on scrap first to master the technique.
LIGHT TOUCH: When rubbing, avoid pressing too hard as this may cause the sticker to smudge or tear.
CORRECT STORAGE: Keep stickers in a cool, dry place to prevent them from drying out or losing their adhesive properties.
All in all, applying stickers is a simple and fun process that can enhance your creative projects. Whether you find the stickers nearby or order them online, following the steps below will help you achieve beautiful results. So gather your supplies, choose your favorite design, and start personalizing your world with stickers!
Post time: Oct-24-2024